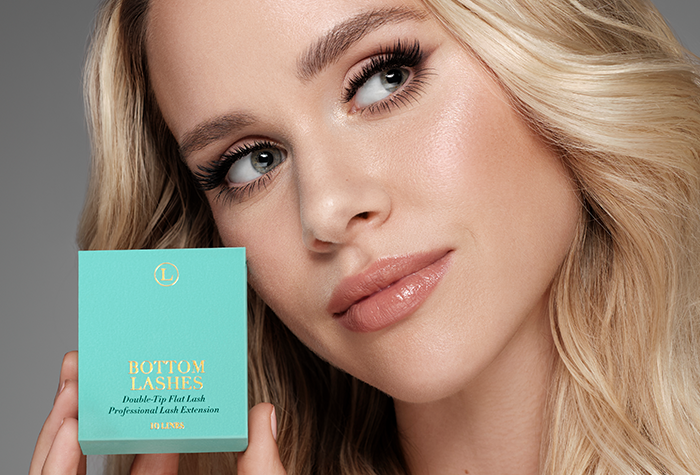
There’s something so satisfying about a lash set that looks perfectly balanced, like everything just works. And lately, I’ve realized that bottom lashes are the key.
I applied bottom lashes for the first time in May 2025 during a LashBoxLA content shoot, and I was honestly surprised by how much they elevated the look. It wasn’t uncomfortable for the client, and the application was smoother than I expected. When she opened her eyes, it was like everything clicked into place. The set felt more polished and complete, like the final brushstroke on a painting. And since then, I’ve been obsessed. Let’s talk about it!
A lot of lash artists avoid bottom lashes for the same reasons I did. We assume they’re more trouble than they’re worth. That they’ll be uncomfortable. That they won’t last. That they’ll look awkward. But most of those fears come from using the wrong curl or the wrong technique.
Once you understand how to apply them and use the right product, it gets pretty straightforward. The biggest mistakes I see are artists using too strong of a curl or applying them while the client’s eye is open. The eye should stay as closed as possible to avoid exposing it to fumes.
Here’s what works for me:
Bottom lashes are usually finer than the top, so they don’t have as much surface area to grab onto. Because of that, they might not last as long. But with good technique and proper client care, you can expect about one to two weeks of wear. Clients need to wash them and care for them the same way they do with their top lashes.
I think just about anyone can wear them. It just comes down to how you style them.
For a natural look, I keep them short and a little more spaced out. If a client’s more on the dramatic side and wearing a full mega volume set, then I’ll go bolder with the bottom lashes to match the vibe. It’s all about balance.
Just like with mapping top lashes, bottom lashes can follow the same principles. Longer lengths on the outer corners help elongate the eye. Focusing length under the iris opens the eye up. You can get creative with mapping, too. Mimic doll eye, go anime style with peaks under the eye, or stagger the lengths for a wispy effect. You’re only limited by your imagination and how many bottom lashes your client has.
Bottom lashes are a smart add-on. I recommend offering them as a separate upgrade, not just including them in every full set. Price-wise, it depends on your area, your clientele, and your menu, but $10 to $50 is a solid range.
Here’s what the earnings potential could look like if you added this service 10 times per week:
Even a $20 add-on, done consistently, adds up to over $10k per year. That’s one small adjustment to your service menu that could have a big impact on your income.
LashBoxLA created something NEW for Bottom Lashes, and that’s what made the difference for me. These lashes are 0.10mm in diameter with a split tip, which gives a soft and natural look. The base is flat so the attachment area is larger and more secure. But the real game changer is the curl.
The i curl is softer than a J curl, which means it doesn’t curl back toward the skin or flop in weird directions. It sits just right for the lower lash line. Finally, someone made a curl that actually works for bottom lashes instead of trying to force a top lash curl to do the job.
One little tip: when you set them up on your lash tile, flip the strip upside down. That way, when you pick up the lash, it’s already facing the direction you’ll apply it. Saves time and makes the flow easier.
Bottom lashes used to feel optional to me. Now they feel essential—especially for more dramatic lash styles. They finish the look. They make photos pop. They elevate your work without adding a ton of extra time.
If you’ve been on the fence, this is your sign to try them. Not just for the money, although that’s a big plus, but for the impact it makes on the final look.
With love,
Chris xoxo
Comments will be approved before showing up.